My company has many offices and one group in California has an amateur, in-house cycling team. They were creating new uniforms and I was tapped to create the new jerseys. The timeline was very fast, and I am happy with the design that I came up with. Very early on I decided to play around with overlapping bands of translucent color. For an optical company, I felt that we should utilize the idea of colored light passing through lenses and filters. I also wanted to keep the graphics very bold and fast. This was done to create a strong look, but also to not compete with the many logos that were required to adorn the jersey.


I came across this vintage Paul Stuart jacket recently. The bold check pattern of the fabric is unusual and I really found it delightful. However, the button stance felt a bit off to my eye. In order to update this jacket, I added an additional button hole and re-aligned the buttons to give it a more current feel. Below I’ve documented the easy process.
The jacket as I originally had it.

Removing the buttons. It was interesting the realize that the non-functional buttons were attached with a very robust synthetic thread. It took quite a bit of wrangling with a seam ripper to free the buttons.


It was interesting to see the red alignment mark used to place the buttons in the factory.

And, a quick trip to the button hole machine and stitching the buttons into their new position resulted in a more flattering cut.

As a native of the San Francisco Bay Area, I grew up with stories of the long-gone Sutro Baths. The Sutro Baths were a huge swimming complex located along the ocean near to the Golden Gate Bridge. Pictures from that time make it look like a truly amazing and fun place to visit.
Some Sutro Baths swimsuits have survived and are in private collections. Once I saw a suit go up for auction on eBay and it sold for an impressive sum. Eitherway, it was unlikely I would ever come into ownership of a real Sutro Baths swimsuit.
I decided to recreate the Sutro Baths swimsuit using a vintage swimsuit and recreating the Sutro Baths logo from historical photos.
Here’s the process I went through:
Researching old Sutro Baths imagery to find a clear examples of the logo and placement.

Finding imagery of of the logo that was as straight-on as possible (This was the one that sold on eBay).

Rejigger the logo using Photoshop

Printing out the logo and hand tracing it to make a cleaner version.

Printing out the correctly scaled logo and spray-glueing it to some card stock to make the stencil. Cut out with an Xacto knife.


Darning holes in the swimsuit. There were quite a bit of these to take care of before applying the logo.


Pinning the stencil to the swimsuit and the cardboard frame I put inside the suit to keep everything stretched flat.
I applied basic acrylic paint with a brush and make-up sponge . Focus on multiple coats instead of just one thick one.


Let the suit fully dry and cut off any whiskers around the logo. I had a few that made the logo look a bit fuzzy and needed to be trimmed off.
Note the pins holding the suit to the cardboard while it dries.

Wear it and have fun with your friends!


I had the pleasure of learning how to construct mens shirts during a course at FIT. It was really fun to construct these shirts and to really learn all of the work that goes into such a ‘basic’ item.
I made two shirts: the blue/white bengal striped shirt features turnback cocktail cuffs and a detachable collar, and the plain white one features a soft collar, chest pocket and barrel cuff.

I really love vintage clothes and the design features that are often built into the garments.
Below is a great example of this:
I have a pair of WW2 Navy trousers. They are made out of a great, thick wool with wonderful button details and a flattering overall silhouette. They have a hidden pleat that runs down only one side of the back hip. It was added into the design so a sailor could let out the waist of his trousers without needing anything more than a pocket knife. It was unlikely a sailor would have time, especially on the high seas, to locate a tailor that could let out a traditional center waist and re-sew the trousers.
Here’s a quick documentation of me opening up this hidden seam.
The back on the trousers.

The inside of the trousers with the seam still sewn shut.

The seam opened up with a seam ripper. I had to steam out these creases, as they haven’t budged in over 60 years.

In this digital age, it sure is nice to have your work featured in an actual book. This books was published a few years ago, but I just came across it recently.
This book features some of my fashion design work and has my illustrations on the back cover.
You can order it online here.

I picked up a nice derby hat in Amsterdam last week and documented the quick and fun process of cleaning it. I used the lint roller to do the initial cleaning, followed by brushing the hat with a hat brush. I bought my hat brush at JJ Hatcenter in NYC. Be sure to always brush your hats in a counterclockwise direction.
Here’s what it looks like all cleaned.

Here’s what it looked like when I first brought it home.

And here’s what it looked like after a cleaning and brushing.

I recently purchased a tuxedo shirt form Rugby with the intent of modifying it once it arrived. It lacks button holes for studs, and instead uses standard buttons that are visible like a more everyday kind of shirt. I went about fixing this and documenting the simple process (below):
1) Remove four buttons using a seam ripper. Be sure to leave the top button alone.
2) Take the shirt to an embroidery shop or a very versatile tailor where they have the machines that can add these button holes. In Manhattan, I went to Jonathan Embroidery Plus at 256 West 38th street.
3) Have the new button holes lined up with the existing ones. I did this by leaving the button thread in place after I ripped the buttons off. The technician at the machine then used the loose threads there as guides for the holes she added.
4) Voila! That’s it! Now go enjoy your updated new shirt!


Recently for a Secret Santa event here at work I was given a bowtie. Sadly, it was a pre-tied bowtie, and I just won’t wear one of those.
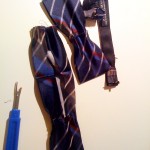
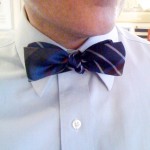
I decided to see if I could rip apart the bowtie and use the existing material to create a proper self-tie bowtie. There ended up being enough room for my 15.5 neck size, but I could have probably gone as high a 17 necksize. The pictures reveal that there is not enough material in the actual bow to make a butterfly shaped bow, so I had to create a straight bow. This is not my ideal shape, but I was happy to have this instead of nothing.
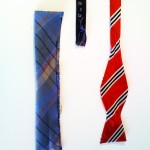
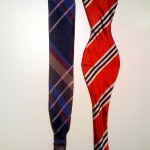
Anyway, here’s a very basic step-by-step process. The red one is my Brooks Brothers bowtie used for reference and the blue tartan one is the one I am re-constructing:
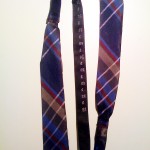
1) Use a seam ripper to cut apart the pre-tied bowtie.
2) Iron and steam out the creases of the bow.
3) Flip the fabric inside out and sew shut two of the three open edges, leaving a small side un-sewn.
4) Unfold the bow so the correct material is now outward facing.
5) Iron and steam this shape flat.
6) Fold the open end of the bow into the thin band that goes around your neck. This will take some fiddling and re-ironing.
7) Sew the bows to each end of the band.
8) Wear with pride!
I was invited to visit the Frick Museum’s secret bowling alley earlier this year. It was spur of the moment invitation, so I didn’t have a good camera on me, but I wanted to share some iPhone images from that adventure. And, by “secret” bowling alley, I really just mean it’s not open to the public and located in the basement level. I’ve included two images of the area that I found online that really give a better sense of the space. I was allowed to bowl one frame, and rolled a 1,8.


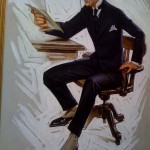
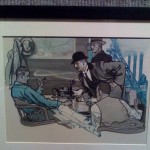
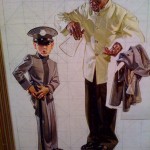
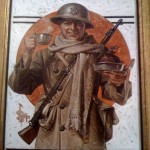
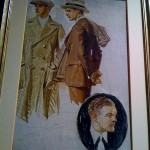
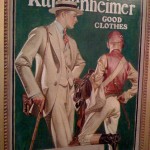
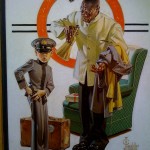
On November 16th, I went out to see the last day of the J.C. Leyendecker work on display for auction. It was great seeing his work up close, and I was surprised at the scale that he painted at. I knew the originals were shrunk down to fit in magazines, but they sure weren’t nearly as big as I imagined. He fit a lot of detail work in at his relatively small scale.
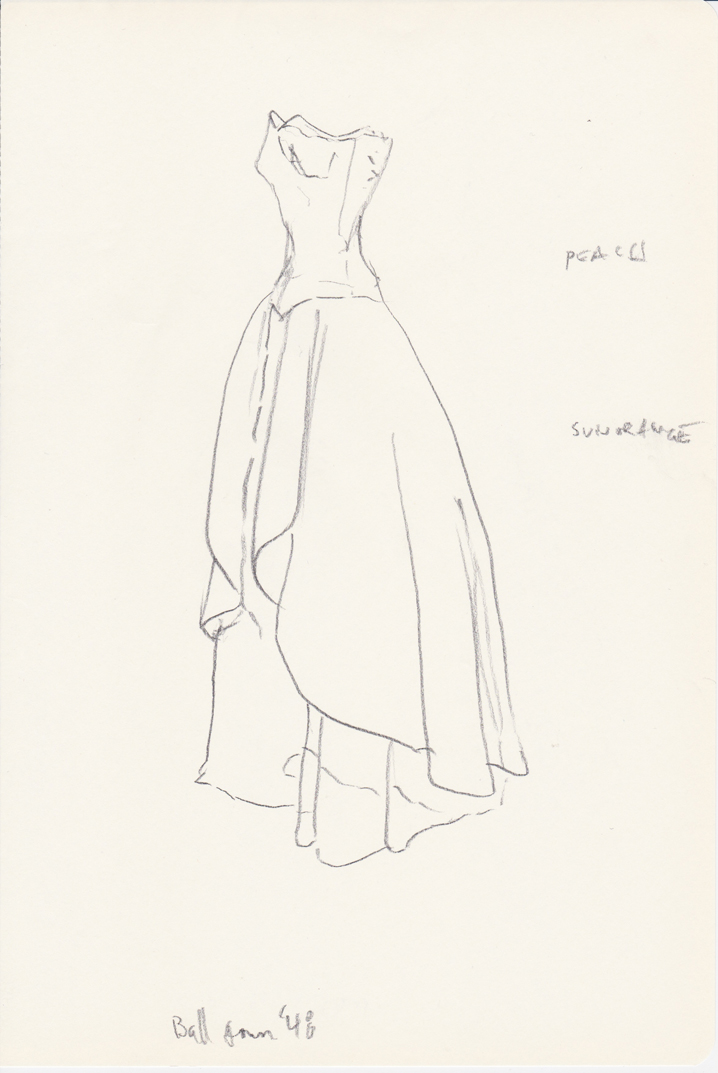
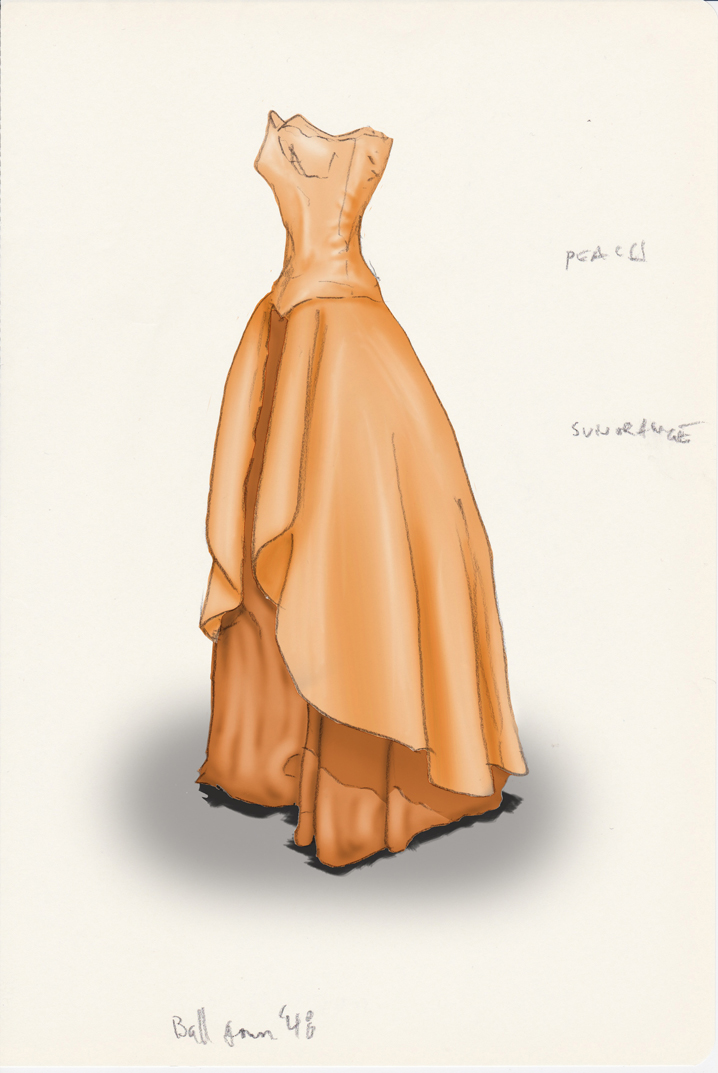
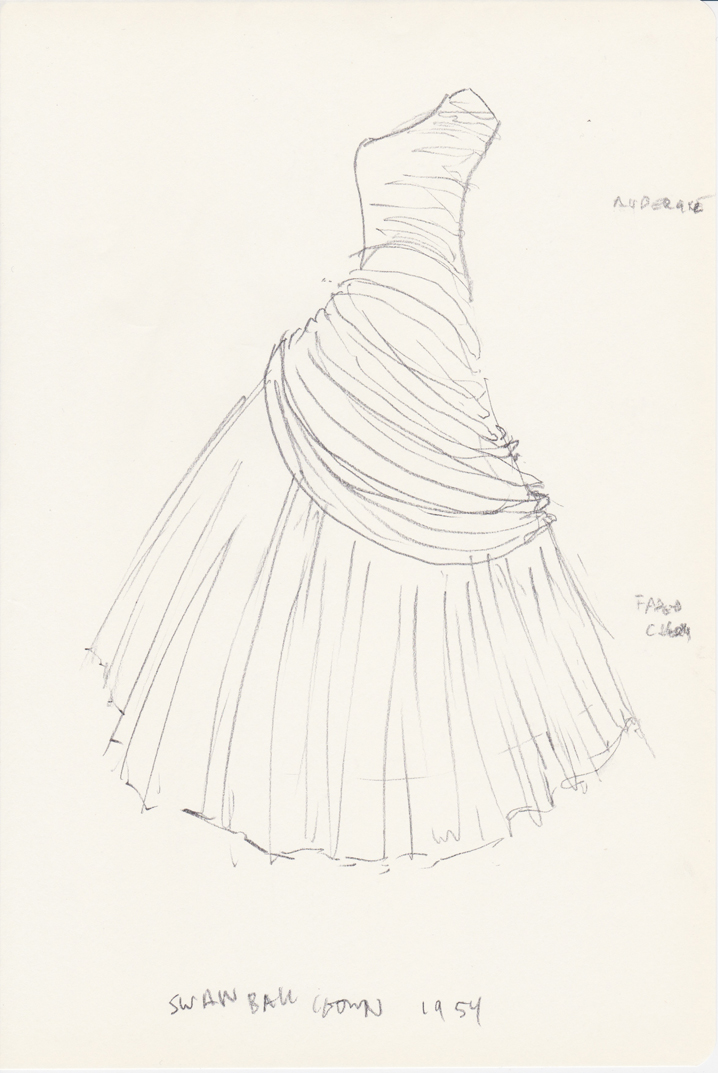
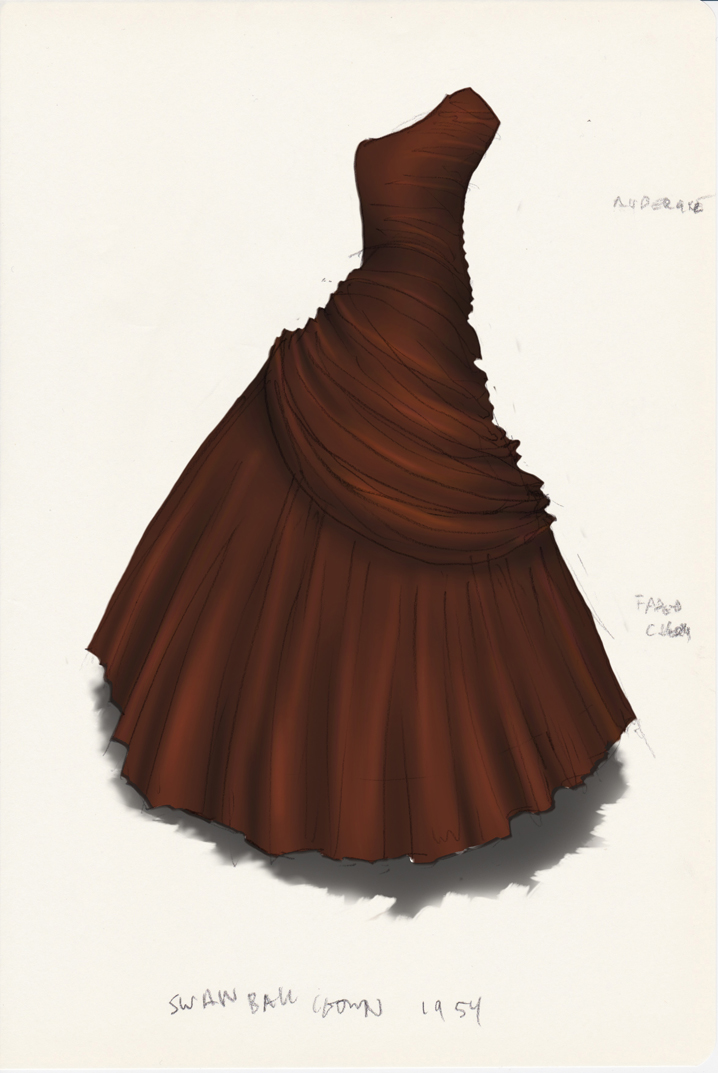
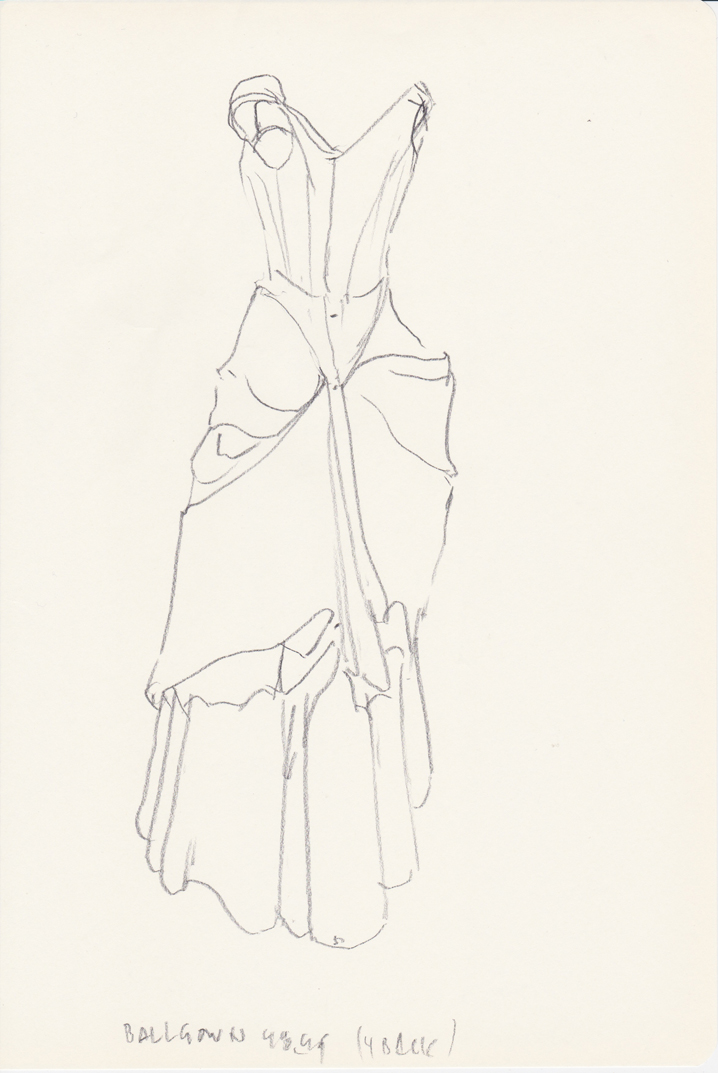
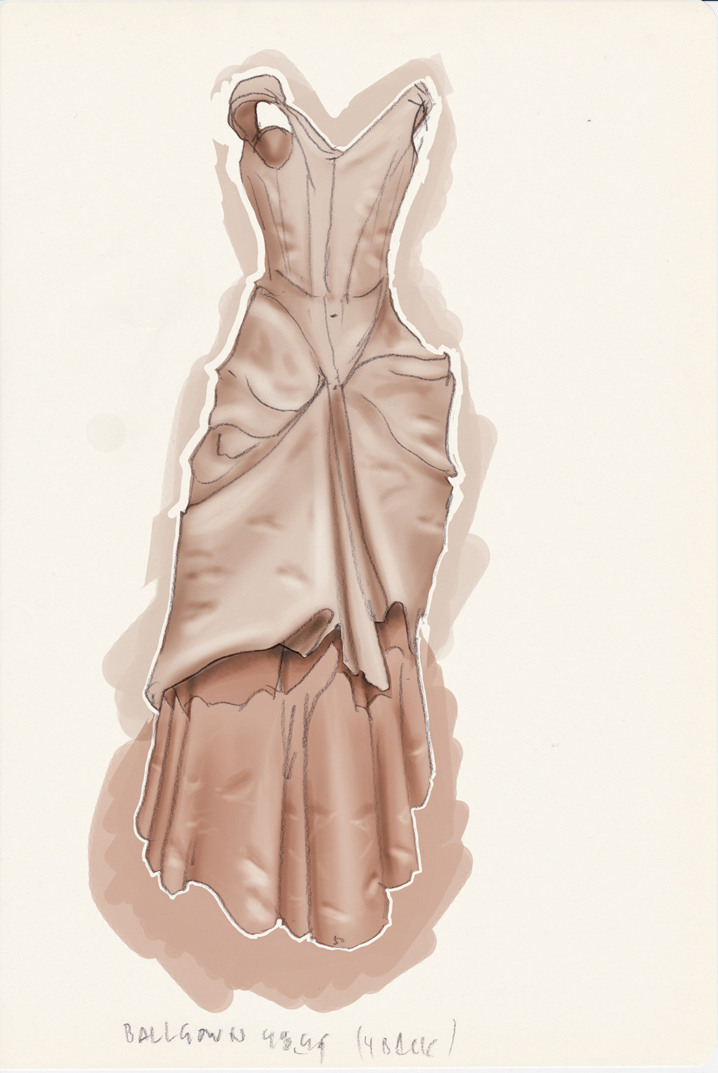
Here are a few sketches I did recently of vintage detachable collars.
I really like the simplicity and high-contrast of these sketches; I hope to do more of them in the future.


There are some fun online tutorials that show how to make a mercury glass effect on glassware. I used them to help dress up these basic votive holders I have.
The basic steps are listed below with some iPhone documentation:
Step one, wrap the outside of the holders in painters tape. Be sure to cover the bottom!

Step two, take the holders outside and wear a respirator while using the Krylon Mirror Effects spray paint.

Step three, light mist the inside of the holders with water (from the black spray bottle pictured).
Step four, spray a few light coats of the Krylon onto the inside of the holders. It will seem like it’s not coated enough, but err on the side of too little paint than too much.

Step five, let dry, remove the tape, and enjoy!

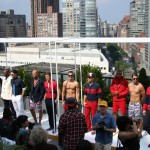
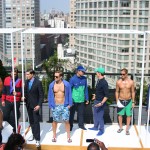
Nautica gave a presentation for it’s Spring 2013 collection and lots of the sunglasses I designed were on display.
Here’s a quick collection of some of the snapshots I took at the presentation.
I enjoy walking around Brooklyn and Manhattan looking at the architecture of the homes. It’s amazing how one brownstone will be so appealing, and the one next door to it, while very similar, just leaves me underwhelmed.
One aspect that I love about some of these older house are the boot scrapers that are built into the wrought iron railings on the front steps. These feel like vestigial organs left on these houses from a time when the roads were dirt and traveling usually involved a horse.
Here are some of the scrapers I’ve come across on my walks.